
ESKUTE V100 Assembly: From Box to First Ride
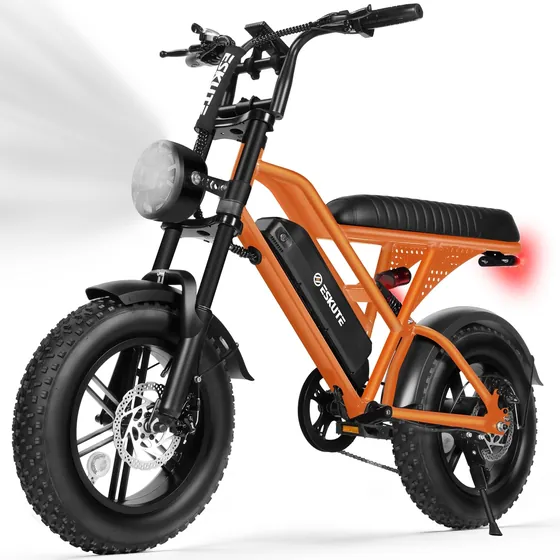
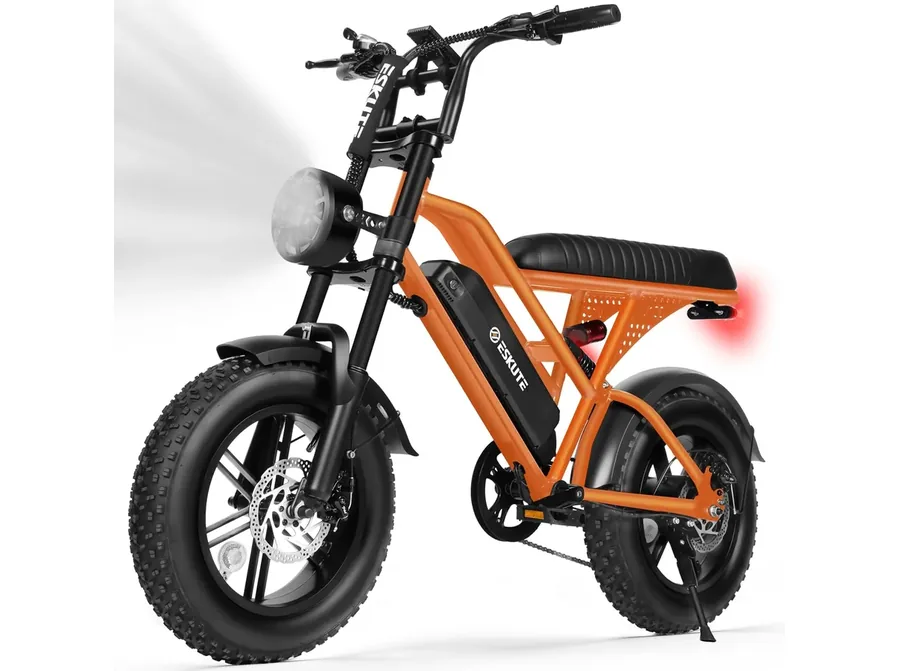
The ESKUTE V100 16" Fat Tire Electric Bike arrives with the rear wheel, motor and drivetrain already on the frame. What's left is the front end: handlebar, front light, front fender, front wheel and pedals. ESKUTE's manual covers it in a few short steps, and the order matters, because one mistake made early (squeezing the brake levers too soon) makes the front wheel harder to fit later.
The bike weighs about 70.5 lb (32 kg), so build it on the floor with room to walk around both sides, and have a second person nearby for lifting the front end. Still choosing a size? See ESKUTE V100 vs V300, and check the load figures in our ESKUTE weight limit guide.
Check the box first
Lay everything out before you touch a tool:
- Frame with the rear wheel fitted
- Front wheel
- Front fender
- Front light
- Two pedals
- The front axle (a threaded rod)
- Tool kit
- Charger
- User manual
If a part is missing, stop here and contact ESKUTE before you start building.
The build, step by step
| Step | What you do | What to watch |
|---|---|---|
| 1. Handlebar | Remove the four screws and the cap on the head tube. Set the handlebar in place, turn it to a comfortable angle, refit the cap and tighten the four screws. | Don't squeeze the brake levers until the front wheel is on. |
| 2. Front light | Fit the light with its brackets facing forward, using the screws and washers supplied. Join the light's connector to the bike's. | Line the connectors up by the arrows printed on them before you push them together. |
| 3. Front fender | Hold the fender in place at the fork. You'll fix it with the front wheel in the next step. | The drawing in the box list labels this part as a pedal. It's the fender. |
| 4. Front wheel | Take the protective covers off the fork and the hub. Slide the axle through the hub. On each side, fit the spacer, the triangular hook with its point facing in, and the washer. Guide the brake disc into the caliper so it sits between the pads, then tighten both sides. Fix the fender hook with its screws. | The disc must run between the pads. Spin the wheel by hand and listen for rubbing. |
| 5. Pedals | The left pedal threads in counterclockwise. The right pedal threads in clockwise. | Forcing a pedal in the wrong direction can damage the crank thread. |
After step 5, go back over every bolt you touched and check it's tight. Then squeeze both brake levers a few times. With the disc correctly placed, the levers should feel firm and the wheel should stop cleanly.
Getting the battery out and in
The battery charges on or off the bike. To take it out, put the key in the lock, push it in and turn it to the left to unlock, then lift the battery out. Lock it again before you ride.
Press the button on the battery to see how much charge is left.
Reading the charger light
| Charger light | Meaning |
|---|---|
| Red | Charging |
| Green | Full, or not charging |
Give the battery a full charge before the first ride. ESKUTE's figures for charge time vary between sources, so let the light tell you when it's done rather than a clock. Our ESKUTE battery life and range guide covers what affects range once you're riding.
Before the first ride
- Pump both 16 × 4.0 inch tires to between 35 and 45 PSI. Fat tires feel soft at lower pressure and can look inflated when they aren't, so use a gauge.
- Check the lockout on the 60 mm front suspension fork and set it the way you want before you ride off.
- Shift through all 7 Shimano gears on a stand or with the rear wheel lifted.
- Test both mechanical disc brakes at walking pace.
- Turn the display on. If it asks for a password, the default is 0000.
Building ESKUTE's three-wheeler instead? The T300 assembly and folding guide walks through that model. All of the two-wheel models are in E-Bikes.